

Lately I’ve been putting a lot of emphasis on prepping your home for the winter and finding efficient ways to stay warm. Still, I get bored of talking about the same things too, so today I thought I’d share with you one of my favorite weekend do-it-yourself projects: refurbishing your wood.
Everyone has at least one piece of wooden furniture that’s worn to the nines—it’s cracked, chipped, and may even be covered in pen or pencil markings. Today, we’re going to fix that. Depending on the severity of the wood, you may need one coat of clear, oil-based wipe-on finish or you may need to go through the entire restoration process. Some of these steps may not be needed for your furniture, but I’ll list them all here, just in case.
I’ll go ahead and start with the easy stuff:
SIMPLE RESTORATION – the wood has faded from its original color and luster but otherwise has no real damage.
- Wipe on mineral spirits. This will temporarily darken the wood. If you like the results, simply apply a coat of oil-based wipe on finish and let it dry.
ENTIRE RESTORATION – the wood has faded from its original color and luster. There are cracks, scratches, chips, or dents in the wood. The wood has visible stains.
- Wash your wood by using a sponge and soapy water.
- Fix any white rings you see by using petroleum jelly. If you use the jelly, make sure you let it sit overnight before wiping it off.
- For visible and thickened stains, like paint spatter, create a delicate scraper using a straight edge with masking tape on the ends. This will allow you to scrape off the stain without scraping off the surrounding finish.
- Fill in any missing wood pieces with epoxy putty. Knead a piece in your hand until it starts to get sticky, then place it over the missing wood chips. Don’t be afraid to go over what you need—when the epoxy has dried, you’ll be able to sand it out. If you sand it, be sure to avoid the surrounding finish.
- Apply a coat of dark gel stain. Remove any excess.
- Fill in any small cracks using colored wax. Fill in the cracks with special wax sticks, then buff out any uneven spots with a soft cloth.
- For any visible dents, make fine slits across the dent. Make sure you create these slits parallel to the wood grain direction. Afterwards, wet the dent. This will allow the crushed wood fibers to rise back to their original shape.
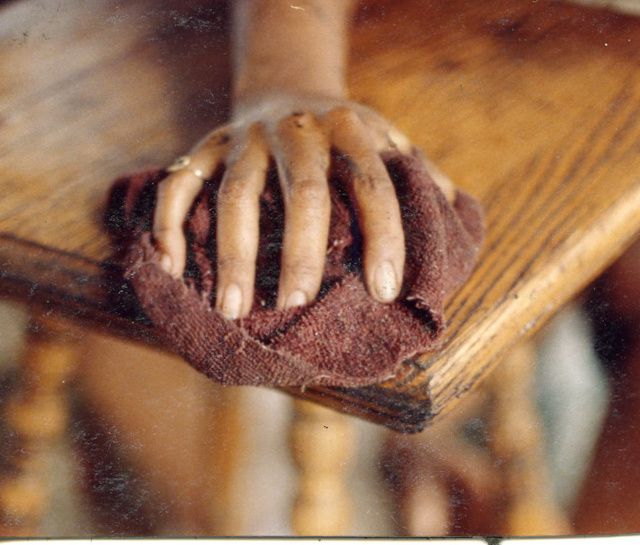
- Finish by apply a coat of wipe-on finish.
This will ensure your tired furniture gleam as if it were new again. If you require more help on any one of these steps, click here to be redirected to a more thorough article.